


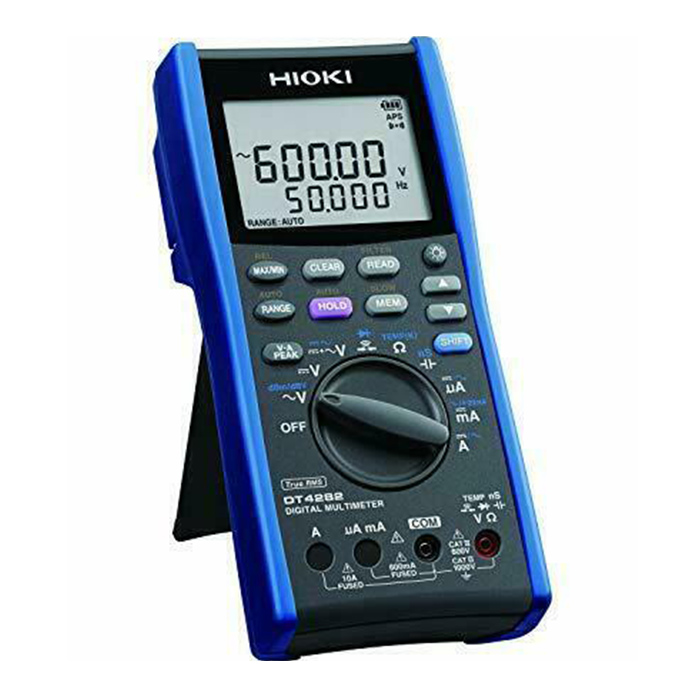


Hioki DT4282 Digital Multimeter – 60.000 mV to 1000.0 V AC/DC
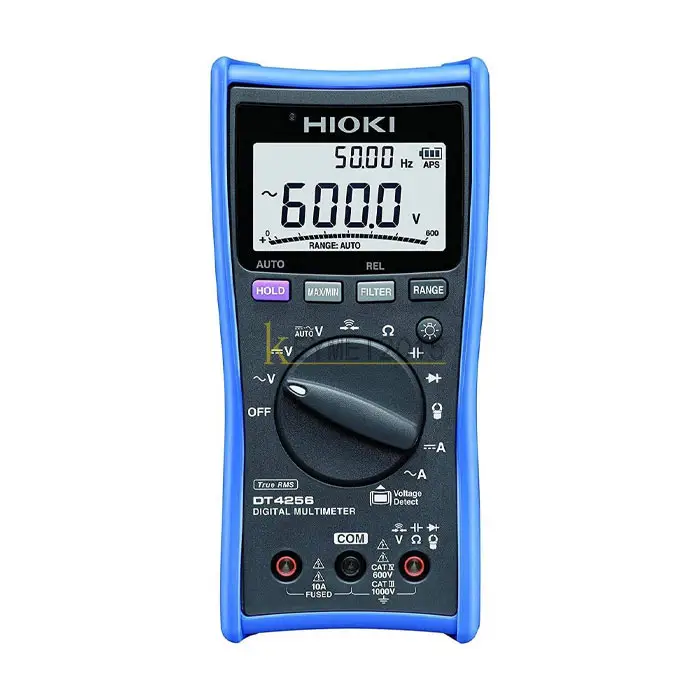
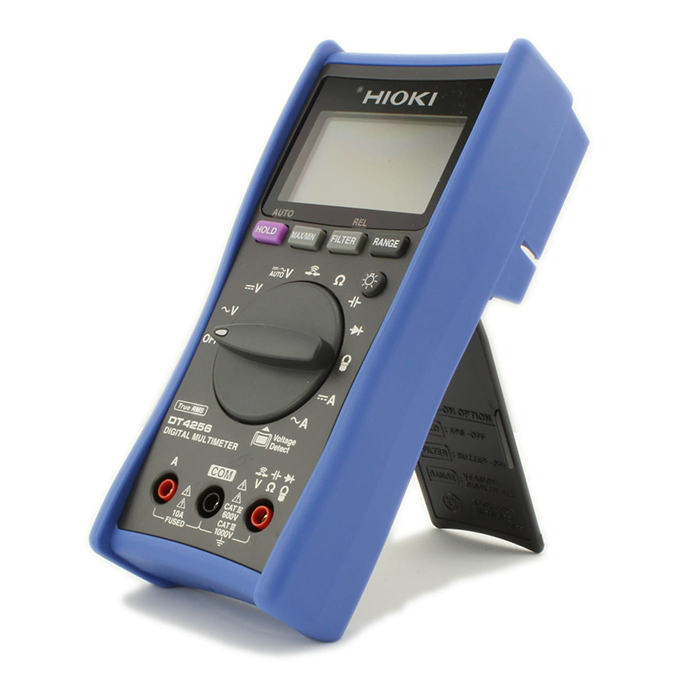
$0.00 (excl.VAT)Hioki Dt4256 Digital Multimeter
$0.00 (excl.VAT)Kyoritsu KEW 1009 Digital Multimeter – 400mV to 600V
$0.00 (excl.VAT)testo 835-T2 – High Temperature IR Thermometer
$2,361.00 (excl.VAT)Testo 175 T1 Temperature Data Logger
$765.00 (excl.VAT)Testo 104-IR Food Safety Thermometer
$687.00 (excl.VAT)testo 830 t1 infrared thermometer
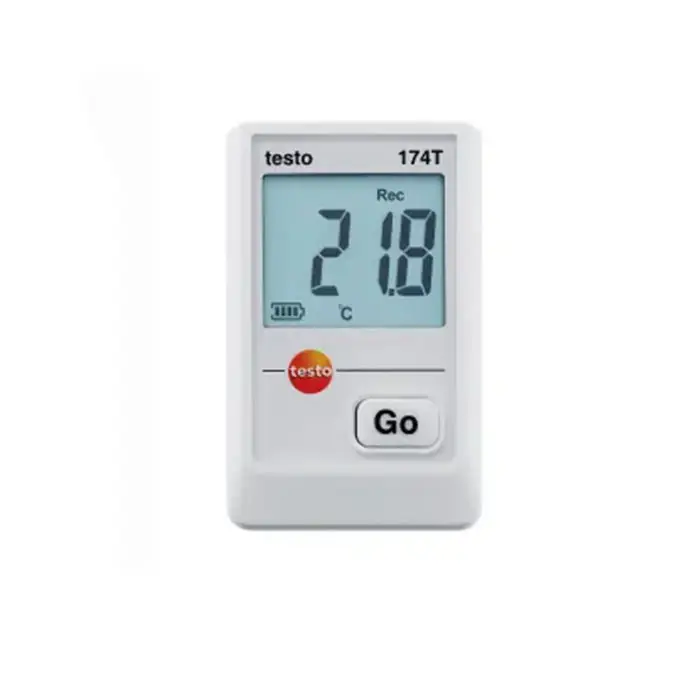
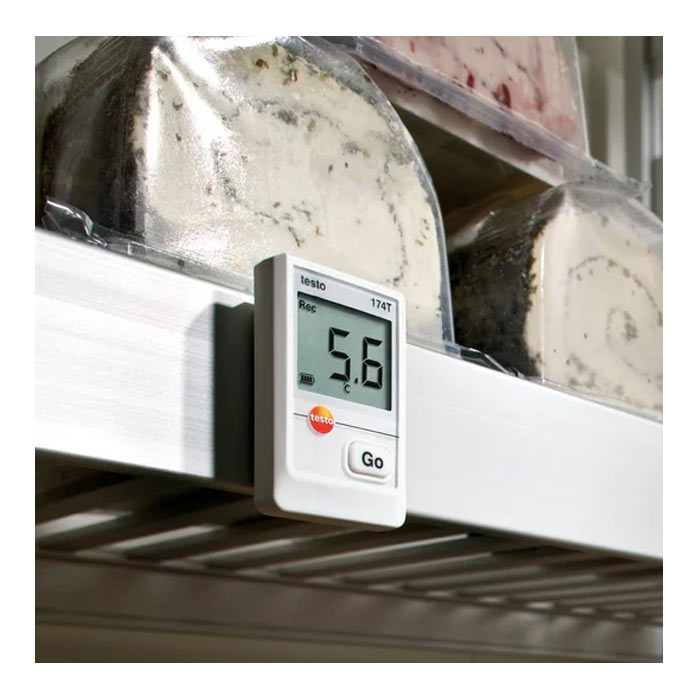
$359.00 (excl.VAT)testo 174 T An Absolute Mini temperature data logger
$281.00 (excl.VAT)Megger DLRO10 Digital Low Resistance Micro-ohmmeter
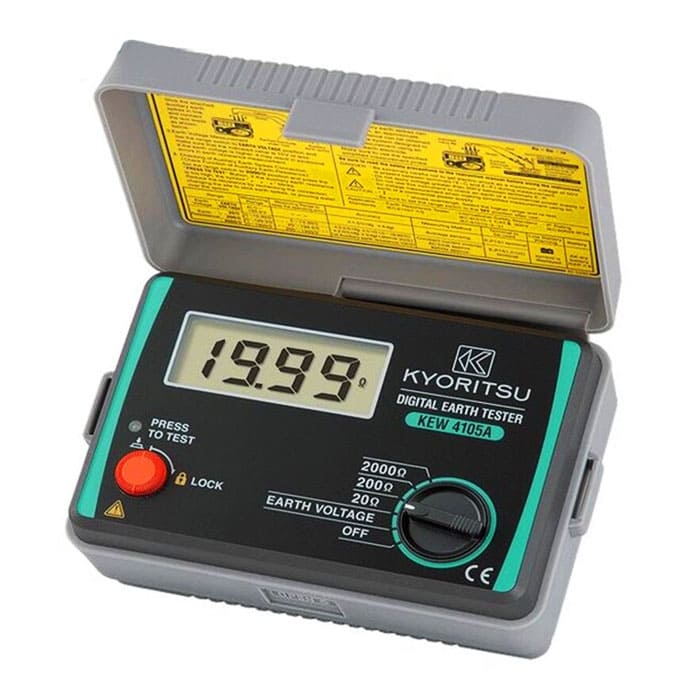
$0.00 (excl.VAT)Kyoritsu KEW 4105A Earth Tester
$0.00 (excl.VAT)Hioki DT4282 Digital Multimeter – 60.000 mV to 1000.0 V AC/DC
$0.00 (excl.VAT)Hioki IR4056-20 Insulation Tester
$0.00 (excl.VAT)Hioki Dt4256 Digital Multimeter
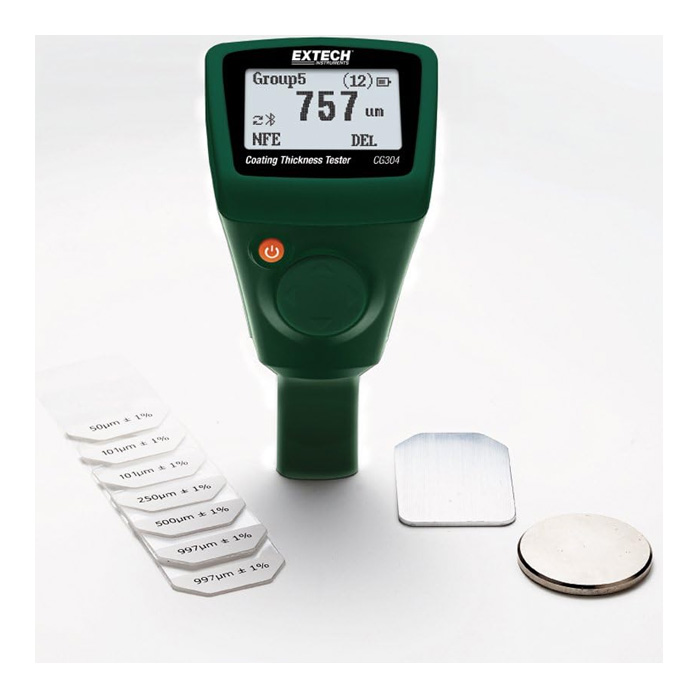
$0.00 (excl.VAT)Extech CG304 Coating Thickness Tester with Bluetooth
$0.00 (excl.VAT)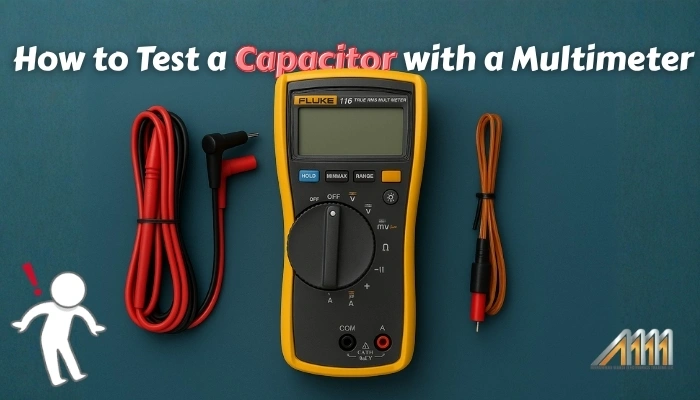
Testing a capacitor with a multimeter is one of the most valuable diagnostic skills for any technician or DIY enthusiast. Whether you’re fixing an air conditioner, a ceiling fan, or a power supply board, understanding how to test a capacitor with a multimeter can save time, prevent damage, and ensure your repairs are accurate.
In this complete capacitor testing guide, you’ll learn seven expert tips, step-by-step methods, and pro insights to help you check any capacitor—digital or analog—with confidence.
Understanding How Capacitors Work and Why Testing Is Important
Before learning the capacitor testing method, you need to understand what a capacitor does. A capacitor stores electrical energy and releases it when needed, stabilizing voltage and current flow in electronic and electrical systems.
Capacitors can fail over time due to overheating, overvoltage, or aging, leading to problems like flickering lights, non-starting motors, and unstable electronics.
That’s why checking capacitors using a multimeter is a must-have procedure for anyone in maintenance or repair.((Fluke Corporation. (n.d.). How to measure capacitance with a digital multimeter))

Safety First: Discharge the Capacitor Before Testing
When testing a capacitor with a digital multimeter, safety is crucial.
Even after power is turned off, a capacitor can hold dangerous energy.

To discharge safely:
- Unplug the device or turn off the power.
- Use a resistor (20 kΩ / 5 W) across the terminals to discharge gradually.
- Check voltage with your multimeter in DC mode—it should read 0 V.
- Avoid shorting the terminals directly with a screwdriver or wire.
Once discharged, the capacitor is safe to handle and test. ((Fluke Corporation. (2023). Safety standards for electrical testing tools.))
Tip 1: Learn the Multimeter Capacitance Symbol and Polarity

Understanding the multimeter capacitance symbol is key to accurate readings.
Look for –|(–) on your meter dial—this symbol activates the capacitance measurement function.
When testing electrolytic capacitors, also pay attention to polarity detection.
Use your multimeter’s continuity or resistance mode to confirm which terminal is positive and which is negative. The black stripe or minus sign on the capacitor marks the negative side.
Always connect the red probe to positive and the black probe to negative when performing a capacitor test with a digital multimeter.
Tip 2: Test the Capacitor Using the Capacitance Mode
The most accurate capacitor testing method is the capacitance mode on a multimeter.
- Remove or isolate the capacitor (lift one leg if it’s soldered).
- Set your digital multimeter to capacitance mode (–|(–).
- Connect the red probe to the positive and the black to the negative terminal.
- Wait for the value to stabilize—this may take a few seconds.
- Compare the displayed reading (µF or nF) to the capacitor’s rated value.
If the reading differs by more than ±20 %, the capacitor may be faulty or degraded.
For example, a 1000 µF capacitor reading 650 µF should be replaced.
Professional models like Fluke multimeters provide auto-stabilized readings with high accuracy. ((Tameson BV. (2023). How to test a capacitor with a multimeter))

Tip 3: Use Resistance Mode When Capacitance Is Unavailable
If your multimeter doesn’t support capacitance measurement, you can still perform a capacitor test procedure using the resistance (Ω) range.
- Set the meter to a high resistance range (e.g., 100 kΩ).
- Connect the probes across the capacitor.
- Watch the readings:
- Good capacitor: Resistance starts low, then rises steadily toward infinity.
- Shorted capacitor: Reading stays near 0 Ω.
- Open capacitor: Reading stays at “OL” or doesn’t move.

This method works well for testing electrolytic capacitors with an analog multimeter too—watch the needle jump and return, which indicates charging and discharging.
Tip 4: How to Test a Capacitor in Circuit (Without Removing It)
You can test a capacitor in circuit with a multimeter if removing it isn’t possible, such as on an air conditioner or power supply.
- Turn off power and discharge safely.
- Set the meter to capacitance or resistance mode.
- Connect probes across the terminals.
- Note that nearby components can affect readings.
If the value seems off, lift one leg or desolder one terminal to isolate the part.
This trick is especially useful when performing capacitor tests in AC units, washing machines, or inverter systems.
Tip 5: Identify a Bad Capacitor Using Readings and Visual Clues
Learning how to identify bad capacitors using a multimeter helps you confirm the diagnosis before replacement.
A bad capacitor may show:
- Low capacitance value compared to its rating
- Resistance that never rises
- Constant 0 Ω or “OL” reading
- Physical signs like bulging, leaking, or corrosion
If your multimeter reads zero when testing a capacitor, it’s likely shorted.
If it shows no change at all, it’s open.
Combining these readings with a visual inspection gives you the clearest results.
Tip 6: Test a Capacitor Using a Fluke Multimeter for Best Accuracy
When accuracy is critical, use a Fluke multimeter to test capacitors.
Fluke models offer True RMS and capacitance measurement functions that filter electrical noise for stable results.
To test with a Fluke:
- Select the capacitance mode (–|(–) symbol).
- Connect probes properly to capacitor terminals.
- Wait for a stable µF reading.
- Compare with the rated value on the capacitor.
Fluke multimeters also include auto-discharge protection, making them ideal for motor start or run capacitors in air conditioners and compressors.
If you repair electronics regularly, a professional multimeter for electronics repair like Fluke 117 is worth every dollar.
Tip 7: Check a Capacitor Without a Multimeter (DIY Method)
Sometimes you may need to test a capacitor without a multimeter—for example, in emergencies or quick checks at home.
- Charge the capacitor using a small DC source (like a 9 V battery) for a few seconds.
- Disconnect it and touch both leads together with an insulated tool.
- A tiny spark or click indicates that the capacitor held a charge.

While not precise, this DIY capacitor test at home helps confirm whether the component is completely dead or still functional.
Bonus Tip: Understand ESR, Leakage, and Holding Charge
Testing a capacitor isn’t only about capacitance value—it’s also about ESR (Equivalent Series Resistance) and leakage current.
A good capacitor holds its charge for several seconds depending on its size and condition.
If it discharges instantly or warms up during testing, it has high ESR and should be replaced.
Adding an ESR meter to your toolkit allows for more advanced diagnostics, especially in power supply and audio circuits.((Keysight Technologies. (2023). Measuring capacitor ESR and leakage current))
Real-World Capacitor Testing Scenarios
Below is a quick reference table showing the most common capacitor testing scenarios — from air conditioner and fan capacitors to inverter and power supply types. Check the typical capacitance range, the recommended testing method, and what a normal reading should look like before comparing your results.
| Application | Typical Capacitance | Testing Method | Expected Behavior |
|---|---|---|---|
| Air Conditioner Run Capacitor | 25–80 µF | Capacitance Mode (Fluke) | ±6 % of rating |
| Ceiling Fan Capacitor | 2–4 µF | Capacitance Mode | Smooth fan startup |
| Refrigerator Compressor | 10–30 µF | Capacitance Mode | Stable motor start |
| Car AC System | 2–5 µF | Capacitance / Resistance | Short pulse of charge |
| Washing Machine Motor | 6–12 µF | Capacitance | Reading close to rated value |
| Inverter Power Supply | 1000 µF+ | Resistance Mode | Gradual charge curve visible |
Common Mistakes to Avoid When Testing Capacitors
Avoid these errors to get accurate results when testing capacitors with digital or analog multimeters:
- Forgetting to discharge the capacitor
- Using the wrong measurement range
- Touching probes with fingers (adds resistance)
- Testing without isolating one terminal
- Misreading “OL” as a failed capacitor (it may just be out-of-range)

Always double-check your meter mode before connecting, and repeat each test twice for consistency.
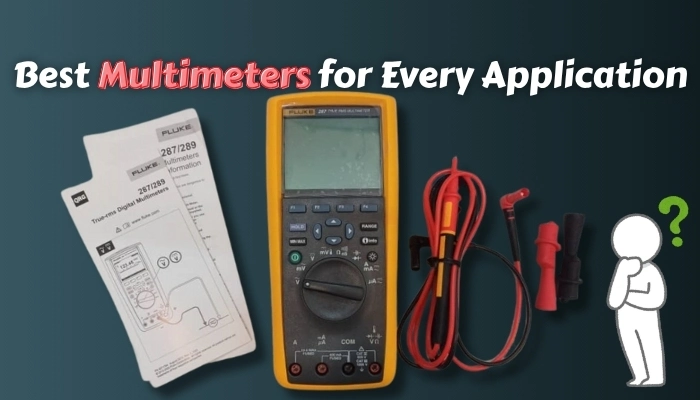
Choosing the Best Multimeter for Capacitor Testing
If you plan to test capacitors often, invest in a multimeter with a capacitance measurement function.
Models like Fluke 115, UNI-T UT139C, or Kyoritsu 1062 offer reliable readings and safety features.
You can also find affordable multimeters with capacitance range online for home use.
If you’re looking to buy a digital multimeter for capacitor testing, choose one with True RMS and a range up to 10,000 µF—perfect for both AC and DC capacitor troubleshooting.
Conclusion: Mastering Capacitor Testing with Confidence
By now, you know exactly how to test a capacitor with a multimeter—safely, accurately, and efficiently.
You’ve learned 7 expert tips, discovered how to interpret readings, and even how to test a capacitor without removing it or without a multimeter at all.
Whether you’re checking a fan motor, inverter circuit, or AC unit, these steps ensure every measurement is precise and professional.
Remember: Discharge first, measure carefully, and trust your readings.
Master these techniques, and you’ll handle capacitor troubleshooting like a true expert.
What setting do you use to test a capacitor
Use the capacitance mode (–|(–) or resistance (Ω) mode if capacitance is unavailable.
Can you test a capacitor with a multimeter
Yes, any multimeter with a capacitance or resistance mode can test capacitors effectively.
How long should a capacitor hold a charge
A healthy capacitor holds its charge for a few seconds to several minutes depending on size and leakage rate.
What range should I set my multimeter to test a capacitor
Use a high resistance range (≥100 kΩ) in resistance mode, or µF/nF range in capacitance mode.
What happens if you test a charged capacitor
Testing a charged capacitor can damage your multimeter—always discharge first.
Why does my multimeter read zero or OL when testing a capacitor
Zero means the capacitor is shorted; “OL” indicates it’s open or completely failed.
Can you test a capacitor without removing it from the circuit
Yes, but readings are less accurate due to other components connected in parallel.


 Bench Multimeters